Happy Saturday!
I've been noticing a lot of melted crayon art on sites like stumbleupon, pintrest, and tumblr recently. They're really cool and can be copied pretty easily. I had some spare time today with everyone out of the house, so I decided to put a twist on some of the melted crayon art I've seen around: melted crayon flower art :).

Here's how to do it:
You will need:

- a canvas (you can get them at walmart for a pretty good price, I used an 11x14)
- crayons (depending on whether you want to use certain colors like I did or just any colors, you may need multiple boxes)
- fake flowers (walmart)
- a hot glue gun and lots of glue
- a heat gun (I'm lucky enough to have one of those just laying around the house, they work beautifully. I've heard that hair dryers work too....but...yeah I haven't tried it and it sounds questionable. If you try it, let me know how it goes!)
- oh and a scissors....which I always forget to include in the picture
- a space that you won't mind getting waxy...the heat gun occasionally causes the wax to spray and it will get EVERYWHERE...plus it's not that easy to get off.
Step 1: Sort

If you want specific colors only, sort your crayons. Then arrange them in the order you'd like them to be on the canvas. I used all the different greens, a few browns, and very select colors of blue and yellow to make it look like grass and wild plants.
Step 2: Glue

Hot glue the crayons on the canvas, making sure it's along the short side. I like to put all my crayons with the color name up, just for some uniformity. I also like the creative names :).
Step 3: Melt

(ugh sorry the pictures blurry...I didn't realize that until I posted it haha) Anyway, flip the canvas upside down so the crayons are at the top. Now it's time to melt them! It's helpful to tilt it so the melted wax will drip downwards and hit the canvas. It may take a bit, but the wax will start to flow. Make sure to go evenly across all the crayons. It also helps to move the heat gun up and down a bit and tap the canvas on the table to get the wax flowing.
 |
| It starts slow and spatters some |
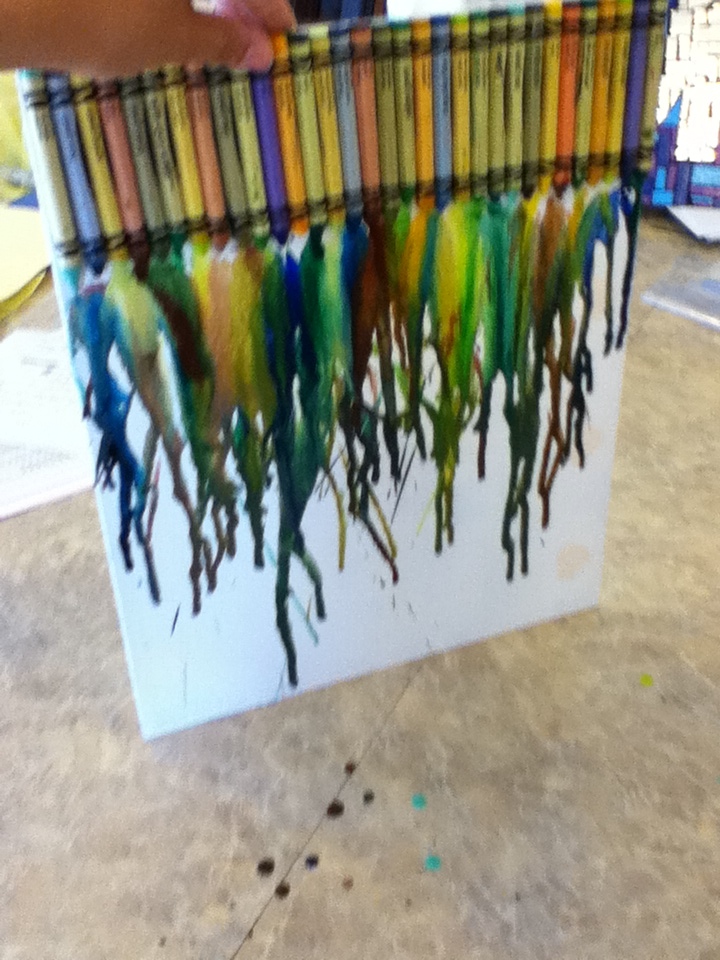
Keep building up the wax. You can manipulate how much and where it falls by tilting the heat gun and the canvas. Follow the dripping wax down with the heat gun to make it run all the way to the bottom and trail out more.

Once the wax goes as far down as you'd like it, go back up to the top where the crayons are and slowly (holding the heat gun farther away) melt smaller amounts of crayon to cover the thin area near the start. It helps to prop the canvas up slightly like I did in the picture.

Step 4: Snip and Arrange

While the wax is drying, cut a few flowers as close as you can to the bud. Arrange them on the canvas however you like.
Step 5: Glue Some More

Hot glue the flowers down. There is no such thing as overkill when gluing flowers during this project. You may need to lift the pedals and apply more glue once its dry to really stick them down.
Now it's finished! You can have a lot of variations in this project, so get creative! My first one was a rainbow rain with two people under an umbrella in the corner. You could even put a quote across the top of this one.
Happy Crafting :)
No comments:
Post a Comment